Display Case for Collectibles Assembly Instructions
Need some help? Scroll down and watch our assembly video.
Assembly Instructions
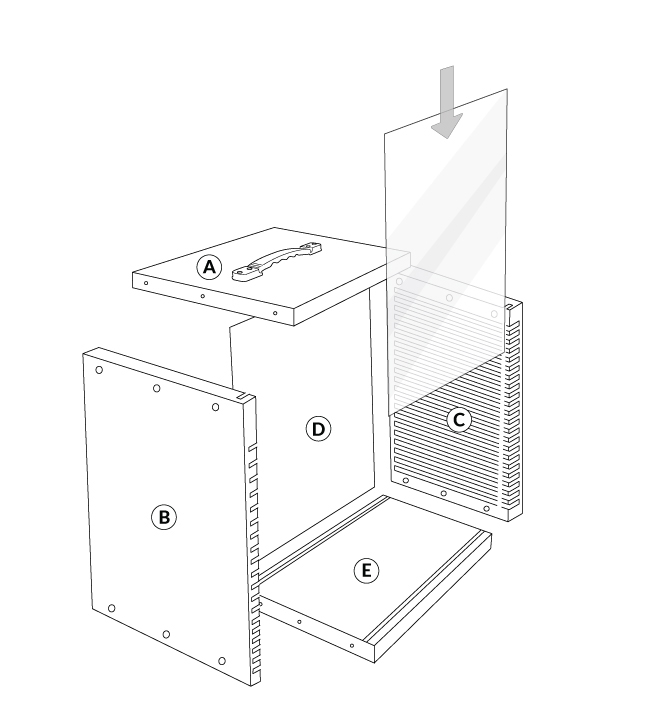
To prepare for assembly, please lay out all parts of the case on the ground. There should be: 5 wooden components in total, along with 5 metal trays, 1 transparent panel, 13 screws, and 1 screwdriver.
There are two walls with grooved lines across the surface. These walls form the sides of the case. The grooves face inward. This is where the trays will be inserted when assembly is complete.
The smaller wooden part with the handle forms the top of the case.
The smaller wooden component with 2 grooves on either side of the surface forms the base of the case. The back wall and transparent panel will be inserted into those grooves during the assembly process.
The thin wall forms the back of the case.
Step by step instructions:
1. Insert the back and side walls into the gaps in the wooden base. The back wall be positioned in the wooden base first and should slot between the two side walls.
2. Insert the screws into the lower holes on both side walls to connect them to the base. Make sure to screw them tightly and securely in place so that no gaps are left.
3. Position the top part of the case in between the side walls. The carrying handle should face upwards. Hold it in place here securely.
4. Insert the screws into the upper holes on both side walls to connect them to the top surface. Do this while holding the top part securely between the side walls so that no gaps are left. Make sure that the screws are tightly secured.
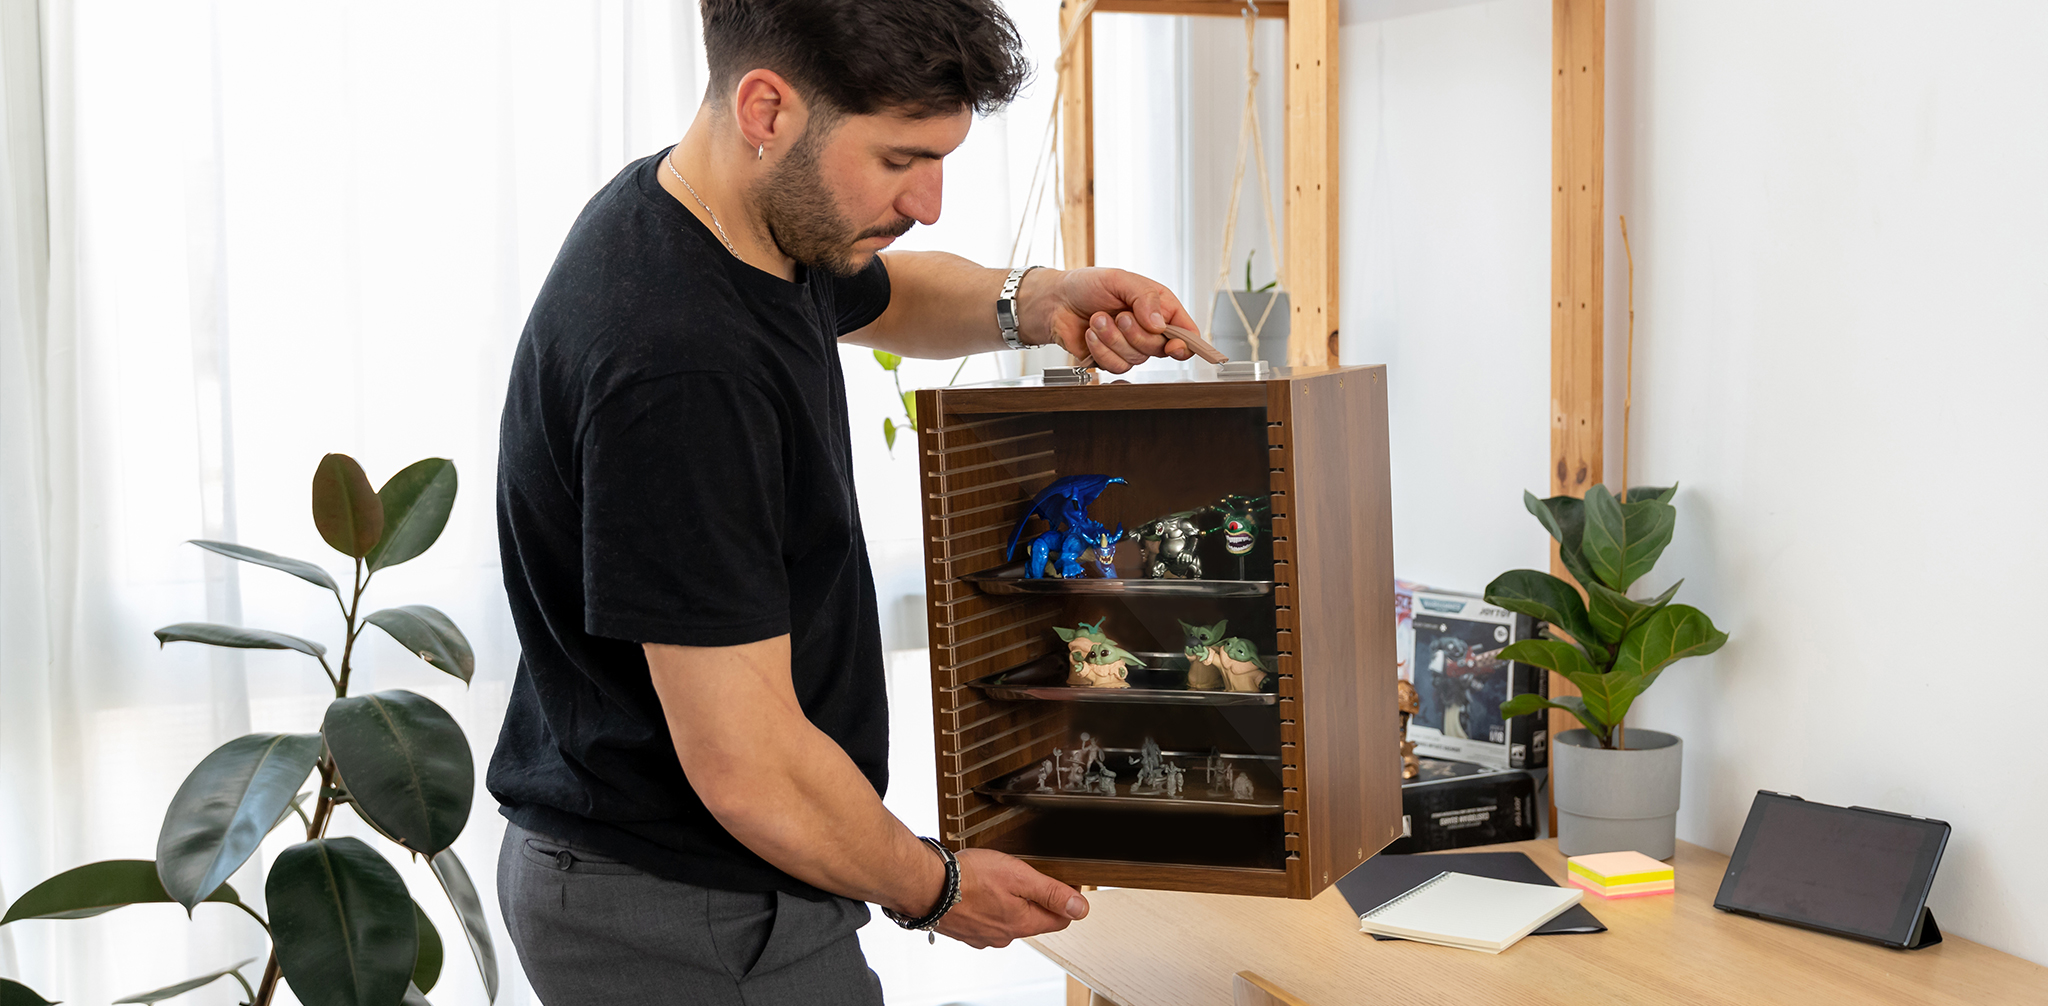
5. Insert the trays into the case.
6. Slide the transparent cover into the front of the case. It should slot neatly into the grooves.